|

|
| |
|
|
| |
To
Get The
Final
Printed
Page
Numbers To
Match The
Page
Numbers
As
They
Appear
On The
Table Of
Contents
Sheet...
|
|
|
PLEASE
Read!!!!
These
steps are no longer necessary with our newest version. Our latest
updates
have
automatied this process, so you no longer have to decipher it yourself. |
|
You
can
convert
the entire
report to
a PDF
file.
Scroll
down to
see
how.
Steps 1
thru 11
are the
same for
the print
option and
the PDF
option...step
12 is when
the
process
will
change.
If your
version
of
Excel does
not have
this PDF
feature,
you can
get free
PDF
converters
on the
internet.
They
typically
work from
the
printer
menu, so
you would
follow the
steps
below for
the print
option. |
|
|
When
you go to
print your
report,
Excel
automatically
assigns
"Page
1" to
the first
page in
the
report.
Since the
first page
is the
cover
sheet, and
the second
page is
the Table
Of
Contents,
the next
page after
the Table
Of
Contents
will be
printed
with
"Page
3" on
it.
Unfortunately,
this does
not match
the page
numbers as
they will
appear in
the Table
Of
Contents.
The next
page,
after the
Table Of
Contents,
is shown
as
"Page
1" on
the Table
Of
Contents
sheet, not
"Page
3".
Fortunately,
Excel
provides
you with a
way to
remedy
this.
This is
assuming
you
already
have
footers,
or
headers,
setup on
all of
your
sheets,
that will
display
the page
numbers
when the
report is
printed.
For
this
method to
work
properly,
the Table
Of
Contents
sheet MUST
be the
second
sheet in
the
report.
If you
wait until
the report
is
complete
to
generate
the Table
Of
Contents,
it will
automatically
be
inserted
as the
second
sheet.
If
you
rearrange
the
sheets, so
the Table
Of
Contents
sheet is
in a
different
order than
the second
sheet in
the
report,
you will
have to
enter a
different
number
then we
are
suggesting
in
step-11. |
|
|
|
 |
Select
the
"Table
Of
Contents"
tab at the
bottom of
the
workbook.
|
|
|
|
 |
Click
the
"Print
Preview"
button
|
|
|
|
 |
In
the lower
left
corner,
you will
see the
Table Of
Contents
consists
of a
specific
number
pages.
It will
show
"Page
1 of
#".
Make note
of that
total
number of
pages.
In the
image to
the left,
the total
number
pages is
shown as 3
|
|
|
|
 |
Select
the
"Cover
Sheet"
tab at the
bottom of
the
workbook.
|
|
|
|
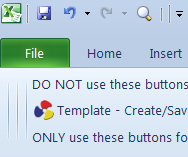 |
Click
on
"File" |
|
|
|
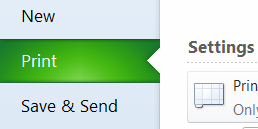 |
Click
on
"Print" |
|
|
|
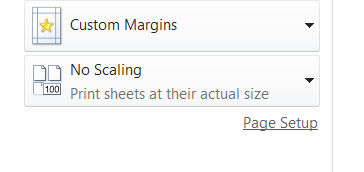 |
Click
on
"Page
Setup" |
|
|
|
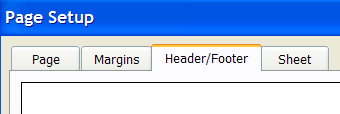 |
Click
on the
"Header/Footer"
tab |
|
|
|
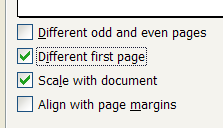 |
Select
the
"Different
first
page"
check box |
|
|
|
 |
Click
on the
"Page"
tab |
|
|
|
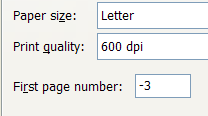 |
In
the
"First
page
number:"
box, enter
the total
number of
pages for
the Table
Of
Contents.
This was
found in Step
- 3
above.
But, enter
this
number as
a negative
value:
For
example:
-3
Click
"OK" |
|
|
|
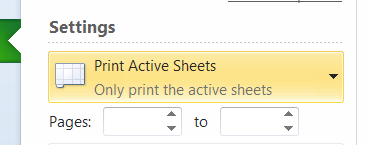 |
Click
on the
"Print
Active
Sheets"
button
|
|
|
|
|
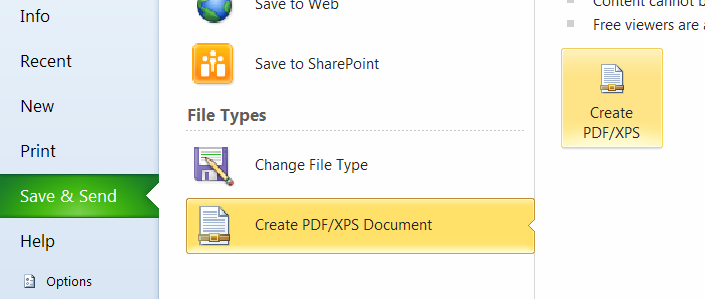
-
Click
on the
"Save
&
Send"
button
-
Click
on the
rectangular
"Create
PDF/XPS
Document
"
button
-
Click
on the
square
"Create
PDF/XPS"
button
|
|
|
Step
- 13 Print
Option |
|
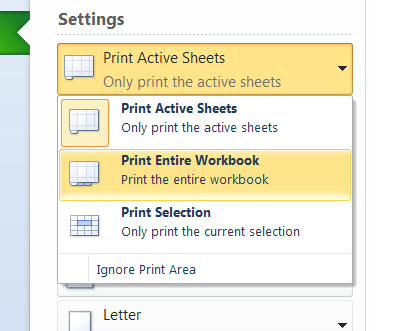 |
Choose
"Print
Entire
WorkBook" |
|
|
|
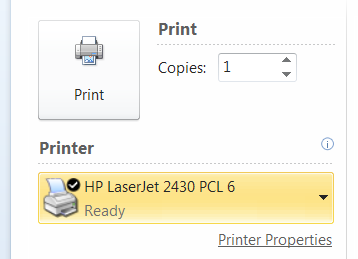 |
Print
your
report |
|
|
|
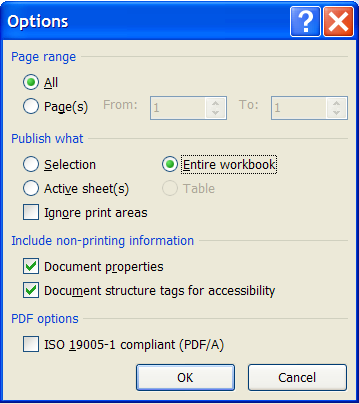 |
-
Choose
"Entire
Workbook"
-
Click
on the
"OK"
button
|
|
|
|
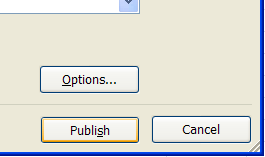 |
Click
on the
"Publish"
button |
|
|

Download
a free
trial of
our
software |
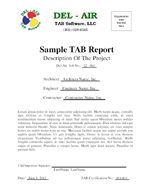
View
A Sample
TAB Report
Please
Read...
This
test and
balance
report was
created
entirely
in Excel,
using our
software
enhancements.
Our
brand will
NOT
be on any
of the
forms.
This
sample
report has
our brand
on it just
to show
Excel's
capabilities.
The layout
of each
and every
page can
be
customized
by you.
|
|
| |
| |

